DIY Guide: How to Change Ferrules on Your Irons Like a Pro
Share
DIY Guide: How to Change Ferrules on Your Irons Like a Pro
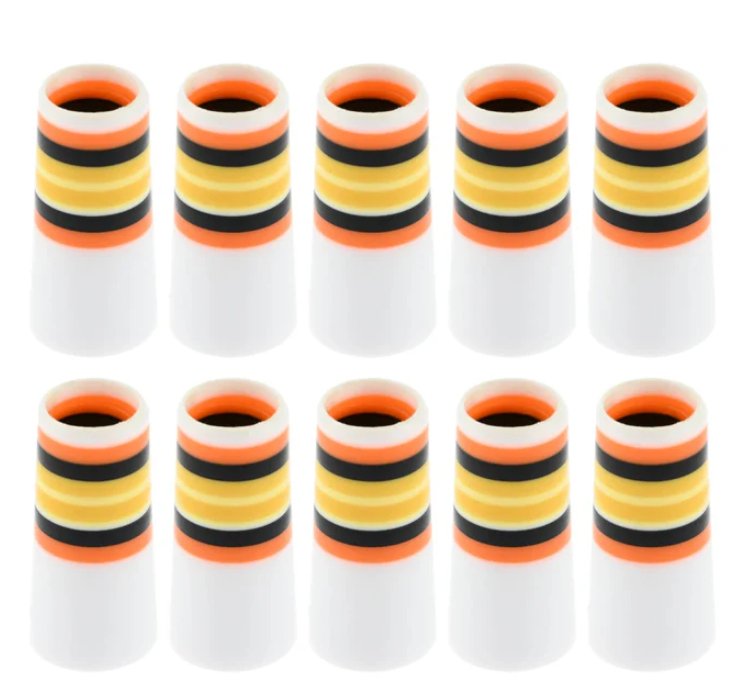
If you’re looking to give your golf clubs a fresh new look or just need to replace some worn-out parts, changing the ferrules on your irons is a great place to start. Not only can you personalize your clubs with Retro Rad Ferrules or Rainbow Stripe Golf Ferrules, but it’s also a simple DIY project that can be done at home with a few tools and a bit of patience.
In this guide, we’ll walk you through everything you need to know about swapping out those old ferrules for new ones. Whether you’re aiming for a performance upgrade or just want your clubs to match your Candy Corn Premium Golf Ferrules, we’ve got you covered.
What You’ll Need:
- New Ferrules: Choose custom ferrules that fit your style or match your existing set.
- Heat Gun or Boiling Water: To loosen the old ferrules.
- Vise and Rubber Shaft Clamp: To hold the club securely without damaging it.
- Utility Knife: For cutting off old ferrules.
- Pro-Fix Rapid Cure Epoxy: To secure the new ferrules.
- Acetone or Ferrule Finishing Solution: To clean and polish the new ferrules.
Step 1: Remove the Old Ferrules
First, you’ll need to safely remove the old ferrules. This can be done by heating the ferrule with a heat gun or boiling water to soften the plastic. Once heated, use a utility knife to carefully cut the ferrule lengthwise. Be cautious not to damage the shaft during this process. After cutting, you should be able to slide the ferrule off easily.
Step 2: Prep the Shaft
Once the old ferrule is removed, clean the area where the new ferrule will go. This is crucial for ensuring that your custom golf club gets the best fit. If there’s any old glue or debris, remove it with a bit of acetone. Make sure the shaft is completely dry before moving on to the next step.
Step 3: Install the New Ferrules
Now it’s time to install your new custom ferrules. Apply a small amount of Pro-Fix Rapid Cure Epoxy to the inside of the ferrule and the tip of the shaft. Slide the ferrule onto the shaft, making sure it fits snugly and is aligned correctly. If you’re using custom golf grips or planning to change your grips as well, now is a good time to do so.
Step 4: Set the Ferrules
After the ferrules are in place, you’ll want to secure them properly. Use a vise with a rubber shaft clamp to hold the club securely without damaging it. Let the epoxy glue cure according to the manufacturer’s instructions, usually around 24 hours. This step is crucial for ensuring that the ferrules don’t come loose during play.
Step 5: Finish the Ferrules
Once the glue has fully cured, it’s time to give your ferrules a polished, professional look. Use acetone or a ferrule finishing solution to clean any excess glue and polish the ferrules. This will give them a smooth, shiny finish that looks like it came straight from the pro shop.
Final Thoughts
And there you have it—a set of irons that not only perform great but also look stunning with their new custom ferrules. Whether you’re aiming to enhance your club’s appearance or just love a good DIY project, changing your ferrules is an easy and satisfying way to make your golf gear uniquely yours. Plus, with a few custom touches, your irons will stand out on the course just like a pair of neon golf gloves.
Ready to upgrade your clubs? Check out our selection of custom ferrules, vintage golf gear, and more to complete your DIY golf club makeover!
